Showing posts with label hat. Show all posts

Friday, December 18, 2015

Wrapping things up for Christmas

I wanted simple wrapping for the hat and scarf sets I made for my mom's nurses. I also wanted them 'open' so that they could choose which color they wanted. 


I was shopping the other day and came across Hefty EZ Ovenware that has the plastic open lids and cardboard type bottom that was also big enough to hold the hat and scarf. Perfect! Even better they were inexpensive!


I printed out simple round 2.5" labels (Avery 22808) and stuck them on the center of the lid and used some shiny Christmas ribbon...is that stuff called ribbon? Hrmmm, it's not fabric, but plastic like. Oh well, moving on.


I named each scarf set after the Red Heart Boutique Unforgettable Color that it was made from.  I also gave a simple desciption, since each set has a different scarf.

Tidal Waves: Hat and Scarf set

Echo Mist: Hat and Fringed Scarf Set

Cranberry Fields: Hat and Cowl Set

It might seem odd, but I like the look, a lot actually. It's clean and simple..and best of all they can use the wrapping afterwords! How splendid is that??

Saturday, November 28, 2015

Now that's just nuts!

Seriously, this is the cutest thing I have ever crocheted, and the quickest.  The pattern is from Lakeview Cottage Kids and free!


Making one wasn't good enough, so I had to make 6.  It's a good thing I know a lot people with babies (Insert sarcastic sounds here *snort* Hmmmph*) I'm the one that is nuts! That's for sure. I almost feel and sound like a crochet hoarder of sorts, hahah. but all is not lost. A friend of mine is having a craft sale, so I will give her the hats to sell.


I detoured from the original pattern a wee bit for the bottom half of the hat and went from single crochet to half doubles.  Less rows to do and a bit more stretch to the bottom of the beanie. Aesthetically they both look just as cute.

I'm not sure on the sizing, I think mine are a bit small, so premie and newborn sizes.


These were made with Red Heart With Love yarn in Tan and Aran, the leaves were done in Lettuce. The yarn is perfect for babies and not scratchy at all.  I think I used a 5.0 mm hook, but I can't entirely remember.

This is definitely in the keeper pile for patterns.

Friday, September 4, 2015

Pompom Beanie

A friend gave me a pattern for a junior crocheted hat from Lion Brand. She wanted to see how our crochet styles matched up and if she should make something like it for her market booth. 


The pattern is very easy because you crochet a rectangle and then sew it together to make the hat shape. I really didn't like it.  I followed the pattern how it was written, but it was odd that they had you gather the top end up before sewing up the body. This made it all scrunchy to work with and harder to line up the stripes. I knew this before actually doing it, but I followed the instructions as given.

I didn't take a picture of that hat because I didn't like the finished product. It was ok, but the pattern just annoyed me, I guess because I hate having to check how many stitches I have...since I tend to gain or lose stitches on rectangle things. I like to really have mindless crochet be mindless :)

So I remade the hat differently.... OK to be fair it's no longer the same pattern or even close!  hahaha. The only thing the same is the amount of stitches in the starting chain and the hook size.


Row 1: I chained 56 with the aran fleck from Red Heart.
Row 2: Did an hdc in the 3rd chain from the hook. Did my 54 hdc's across, and then did a sl st join to the top of the first hdc of row 2. (my chain 2 which counts as my first hdc)
Round Rows: I just continued crocheting in the round. I went around and around and around until I had a length of hat I wanted. Beautiful, no brainer, no counting, no slip stitches...just watching myself a movie and crocheting myself a beanie :)
Color Change: I decided to change the color up to Vanna's Choice 'Rust' color. I did this in line with where I joined the original chain together in Row 2. So I considered this the back of my hat.


For the color change: I did the first part of the hdc stitch in aran fleck -- yarn over, insert into stitch, yarn over and pull through (3 loops on hook), then did a yarn over with new color and pulled through.

Round Rows: crocheted and watched a bit more movie

2 Decrease Rounds: In line with the first join and the color change below, I did an hdc decrease (hdc2tog), 4 hdc's, then another hdc2tog, another 4 hdc's etc going all the way around until I met up with my first hdc2tog.

My count didn't work, there wasn't exactly 4 stitches when I got to the decrease, but a spacing of 3 between my last one and the one from the previous row was fine enough. Otherwise I would of skipped ahead or moved my last hdc2tog back a stitch or 2. Anyways, I did an hdc2tog using the stitches on either side of the previous rows hdc2tog so they stacked above each other. Did 3 hdc's, then hdc2tog, 3 hdc's, hdc2tog...continued on until I got back to the start and then fastened off leaving a bit of a tail

I wove the tail in and out between the hdc stitches of the last row and then pulled tight to scrunch up and close off the end of the hat.

Using the same Rust color, I did a band of hdc's around the opening of the hat starting again at the 'back' inline with all my other changes. This time I didn't do it in the round, but did the sl stitch, chain 2 up to the next row method.

Tossed on a flower with a button and made a pompom then went to bed :)


Wednesday, February 25, 2015

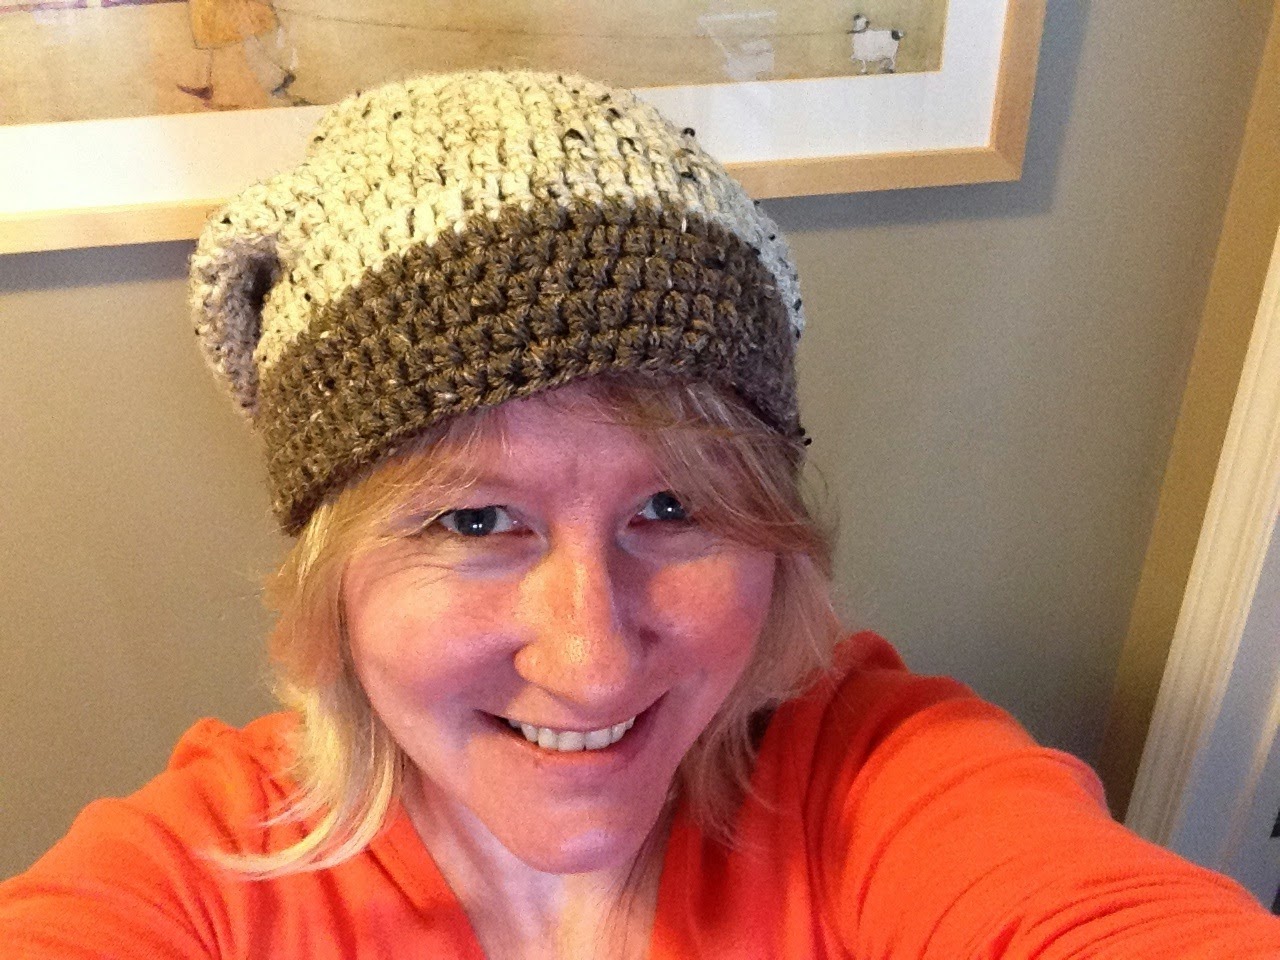
Slouch Hats

Dyana wanted a slouch hat, so who am I to disagree. I used a basic pattern for a slouch hat / beanie -  12 dc's in a mc, increase and then double crochet in each stitch around etc. I did 20 rows so that it wouldn't be a long hat. I changed to a smaller hook size for her band, and also on the ones I made for myself. For myself I changed up the sc band for hdc too - as seen below.


  • Medium/Worsted Weight yarn  (Vanna's Choice Oatmeal/Barley/Grey Marble..and another worsted)
  • Boyes H/8 - 5.00mm hook
  • Aero 4.50mm hook
HAT: With 5.00mm hook
Row 1: Magic Loop or Ch3 and then 11 DC into the circle (12 DC's total). 


Slip stitch to join each round to top of first dc.

Row 2: Ch 2 (counts as first DC), DC in
same st, *2 DCs in next st* around; join (24 sts)
Row 3: Ch 2 (counts as first DC), 
DC in same st, *DC in next 2 sts, 2 DCs in next st* around; join (32 sts) 
Row 4: Ch 2 (counts as first DC), DC in same st, *DC in next 3 sts, 2 DCs in next st* around; join (40 sts)
Row 5: Ch 2 (counts as first DC), 
DC in same st, *DC in next 4 sts, 2 DCs in next st* around; join (48 sts)
Row 6: Ch 2 (counts as first DC), 
DC in same st, *DC in next 5 sts, 2 DCs in next st* around; join (56 sts)
Row 7: Ch 2 (counts as first DC), 
DC in same st, *DC in next 6 sts, 2 DCs in next st* around; join (64 sts)
Row 8: Ch 2 (counts as first DC), 
DC in same st, *DC in next 7 sts, 2 DCs in next st* around; join (72 sts)
Row 9: Ch 2, *DC in each st around*, join;
Rows 10-19: Repeat Row 9 (Add more rows until you reach your preferred slouch length)


BAND: With 4.50mm hook (gives ridged look – not shown in pictures) 
Row 20: ch 1, *in back loop only, sc in each st around*; join
Rows 21-25: Repeat Row 20


Alternatively (as shown in pictures): Ch1, hdc in each st around*; join, repeat.
Fasten off.

NOTES:
Every circle above will ‘add up’. Row 7 for example: the count starts with 2 dc's (that’s your first ch2 and 1st dc in the same stitch). Then there are 7 dc’s in between each set of 2dc’s.

  • 2dc in stitch, 7 dc, 2dc in stitch, 7 dc etc, until the end, where you would end with 7 dc’s before hitting your first ch2 of the row. 
  • The same goes for all other rows, the last dc’s will be the correct number before hitting the 2 dc's in a stitch.
  • The V's (the 2 dc's in the same stitch) will all line up above each other for each row.
  • The last stitch will snug up against start of the row/ch2.
  • When you get to the rows where you no longer increase, count your stitches to ensure you are not adding an extra stitch each row. I found when doing this, that I no longer had to put the last stitch in snug against the first dc of the row.

Make sure you are joining directly into the top of the ch-2 at the end of each round, not into the gap between the ch-2 and the next DC. Joining into the gap will create a hole.

HOOK SIZE:
For Dy's Oatmeal hat band: I used 4.50 mm hook and single crochet in back loop. 

A 4.0mm hook would be good for a child hat possibly.

The Oatmeal/Barley hat band used 4.50 mm hook – hdc (both loops – ch1 to start row). This was a bit looser, close to what the hat is without a band. Remember to start in ‘next stitch’ and not the ‘same stitch’

The Grey/Grey Marble hat band used 4.25 mm hook – hdc (both loops - ch1 to start row) and is just a smidge tighter than the 4.50mm used in the Oatmeal hat. I prefer this hook with the hdc stitch used. You can see in the picture below - with this hook size the band tightens in slightly compared to the Barley band which runs straighter in-line with the hat portion.

**I prefer the hdc stitch (both loops or backloop) instead of the sc. The hdc doesn’t look stretched and pulled tight like a sc does when wearing. Using a 5.00mm hook when doing sc would most likely be the fix to that – because it would be a larger hook/gauge. 


Monday, December 15, 2014

Shark Hat for Emmet


My sister found adorable shark slippers for Emmet and I had seen these cute little shark hats on pinterest - and I had matching yarn - so...Chomp Chomp, I made him a hat.

Crochet Shark Hat

I think it turned out great.

I used the pattern from RepeatCrafterMe, but added side braid/tassles since I wasn't keen on just the ear flaps.

Not knowing what size to make for a toddler, I used this information from Crochet In Color to make my best guess. I had found the sizing on the patterns at RepeatCrafterMe don't work so well (for me) and Im too lazy to make a test guage square, so the chart is perfect.

I used the Bernat Premium yarn.
Boyes H/8 - 5.00mm